


Product Details
+
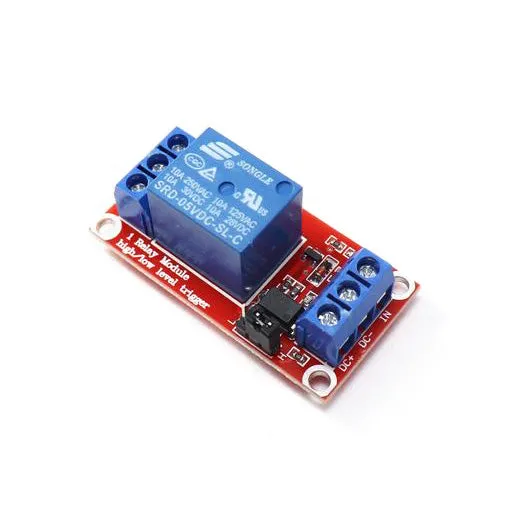
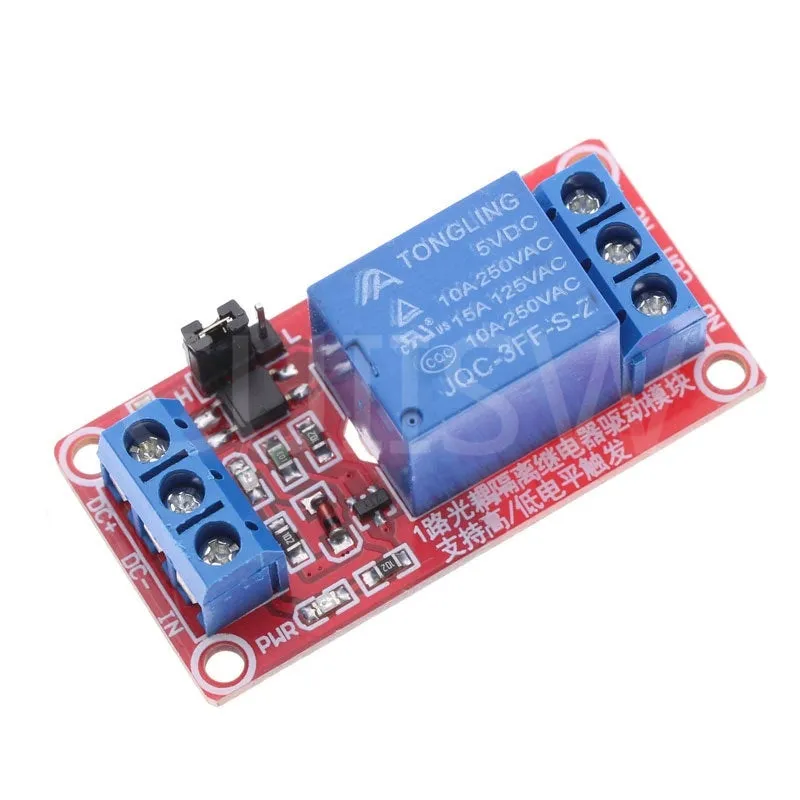
Use Konnected to switch things on and off with a relay module.
- - Compact relay module with screw terminals for your switched devices
- - Normally Open (NO) and Normally Closed (NC) contacts
- - Configurable high or low level trigger with jumper -- can be used on all 6 outputs
- - Red indicator LED when relay is activated
- - Powered by 5V directly from the Konnected NodeMCU base
More about Relays
What is a Relay Module?A relay is a type of switch that can be controlled with an electrical signal. It is a way to open or close a circuit in this case via a signal from the Konnected microcontroller. The relay isolates the circuit on the device you want to control from the device that's controlling it.
If you want to use Konnected to control a garage door opener, sprinkler system or turn on/off something that has a separate voltage source, you use a relay module.
A relay has two sides:
- Power/trigger side of the relay. In the case of Konnected, we power 5v DC relays through the Konnected Add-on board and use another wire to trigger it on/off. Without this side you would be unable to control the relay.
- Switched (NO/NC) side of the relay. On the other side of the relay you are passing current that can be switch on/off. You can either set up the relay to be Normally Open - meaning that circuit is not completed & current is not flowing until you switch it. Or you can set it up as Normally Closed - meaning that the circuit is complete and current is flowing until you switch it.
Wiring the Power/Trigger Side
- 5v Konnected goes to VCC Relay
- GND Konnected goes to GND Relay
- Zone or Out Konnected (depending on which zone you are using to trigger the relay) goes to IN
Wiring the Switch Side
- You will always have a wire in the COM (Center Connector)
With the switch side pointing up:
- NO will be on the right of center (Noted by NO or a broken line)
- NC will be on the left of center (Noted by NC or an unbroken line)
Important Notes for Konnected and Relays
-
There are only 5 pins/zones on the Konnected boards that can support both high & low-level trigger relays
- DIY Boards: D1, D2, D5, D6 & D7 on the DIY
- Production Boards: Zones 1-5 on the production boards.
- Pin RX and Out can support high level triggers ONLY.
- The Maximum voltage that can pass through the Switched (NO/NC) side of the relays is written on them. Please exercise caution.
High and Low Triggers
What's the difference?
- Low-level triggered will allow the current to go through the power line when the control signal is below a certain voltage.
- High-level triggered will allow the current to go through the power line when the control signal is above a certain voltage.
Momentary Switch
This is where the switch is either switched on or off for a very short period of time - think of it as a quick button push & release. For instance for a garage door you just need to briefly close the circuit to actuate the garage door motor.

 Lift Kit - GR Plus Off-Road")


, 6000 MHz, CL40, KF560C40BBAK2-64, black")


